How To Keep Your Stainless Steel Water Tank Cleanz
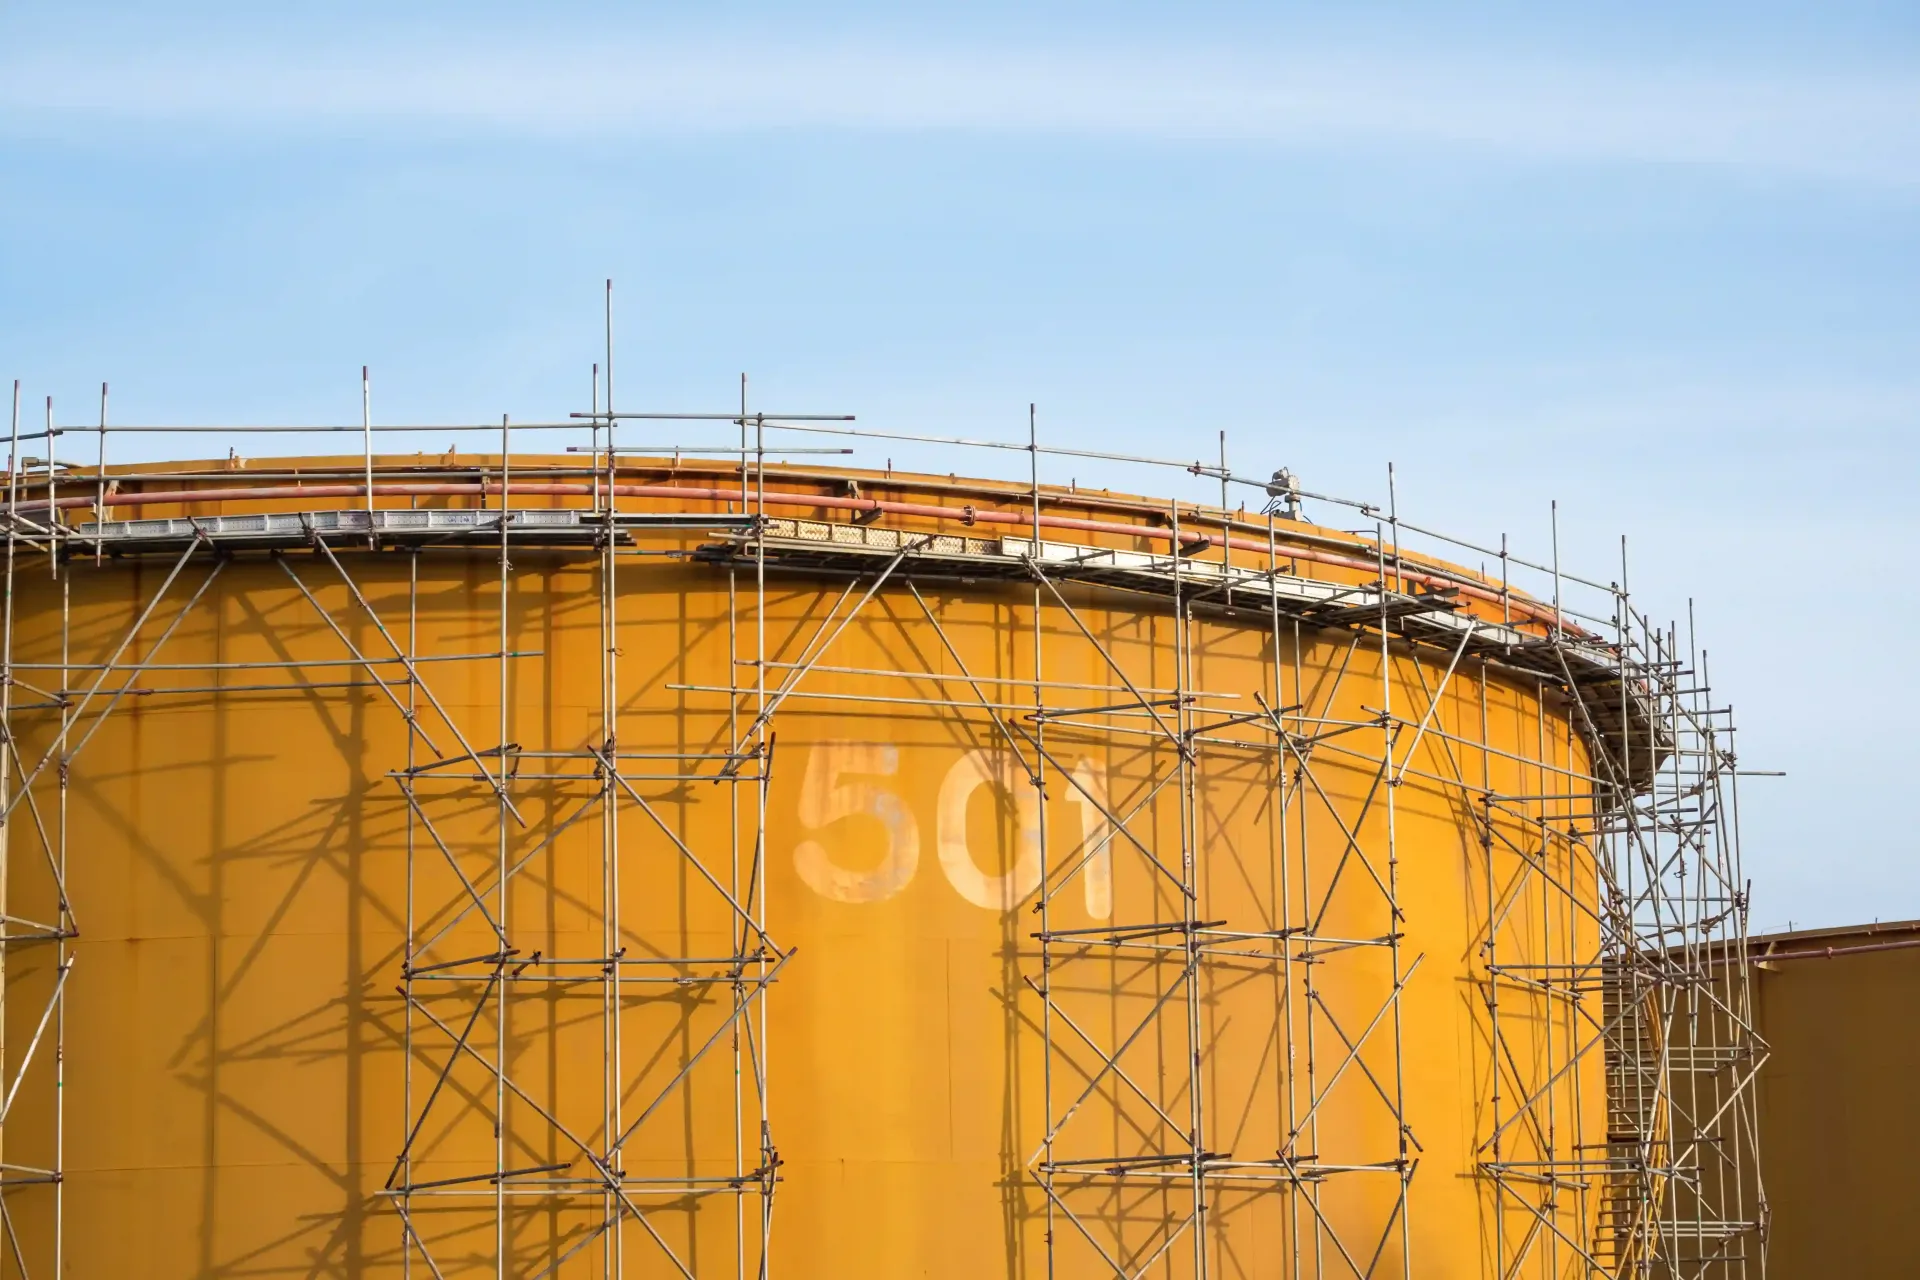
There are many different types of water storage tanks including concrete, metal and plastic. Each materials has its advantages and disadvantages.
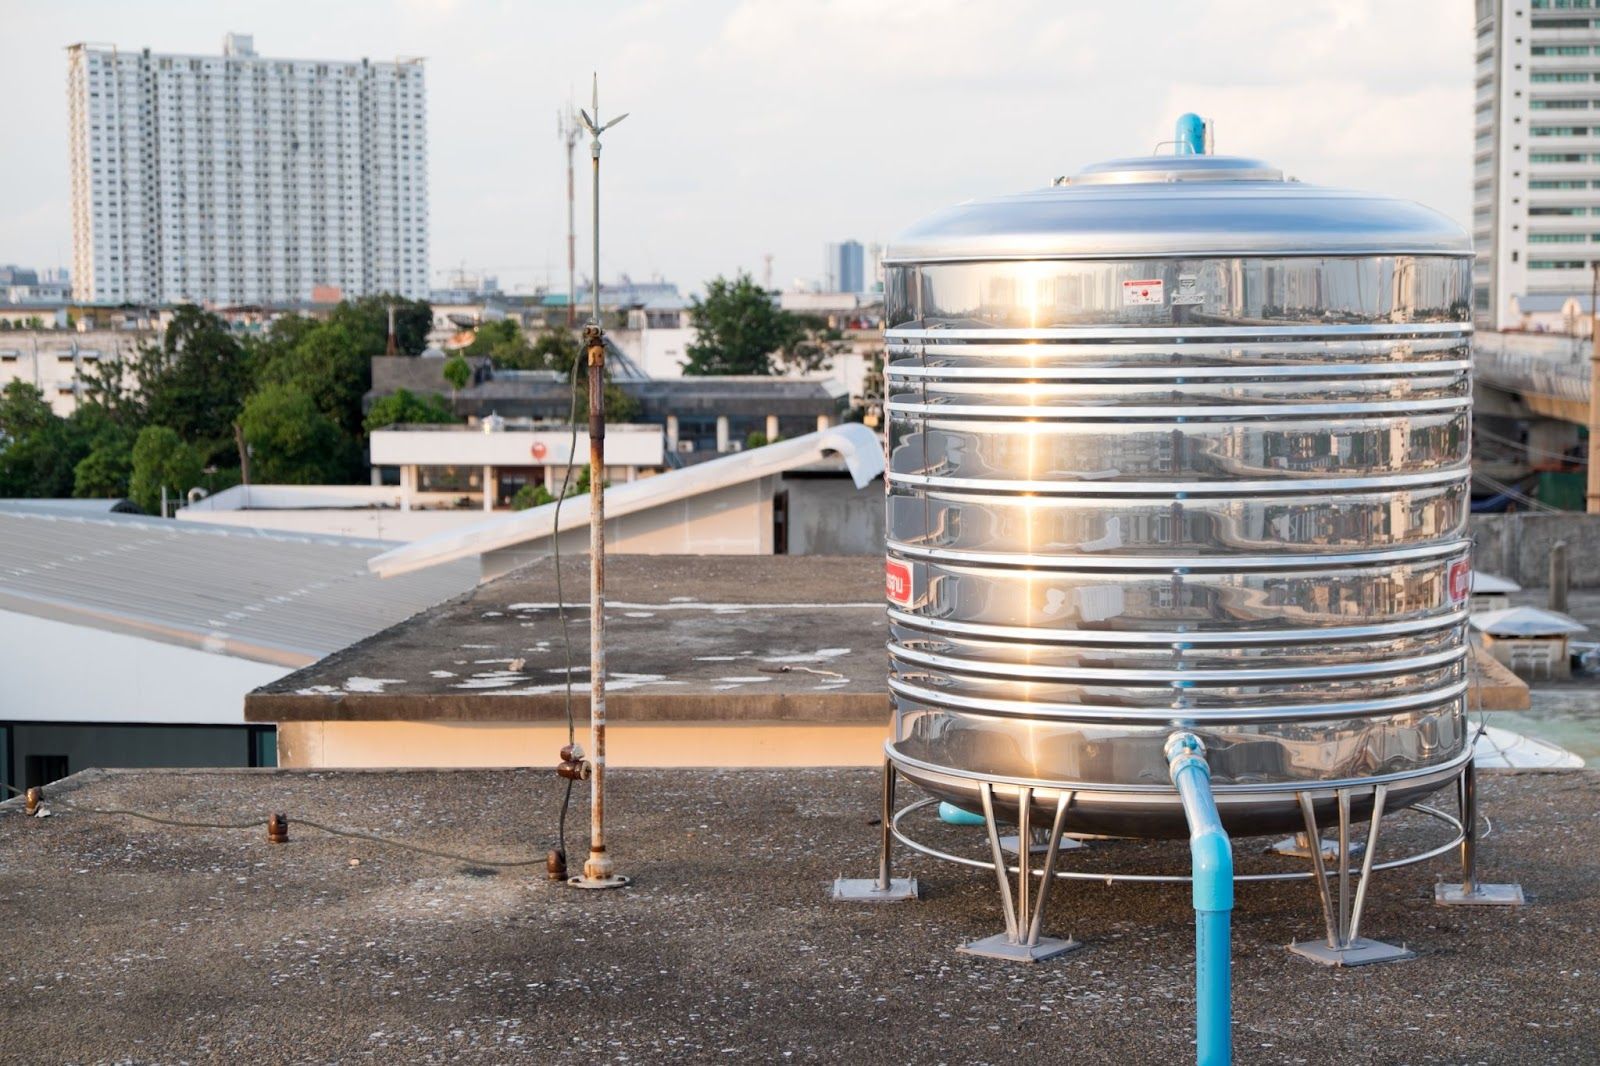
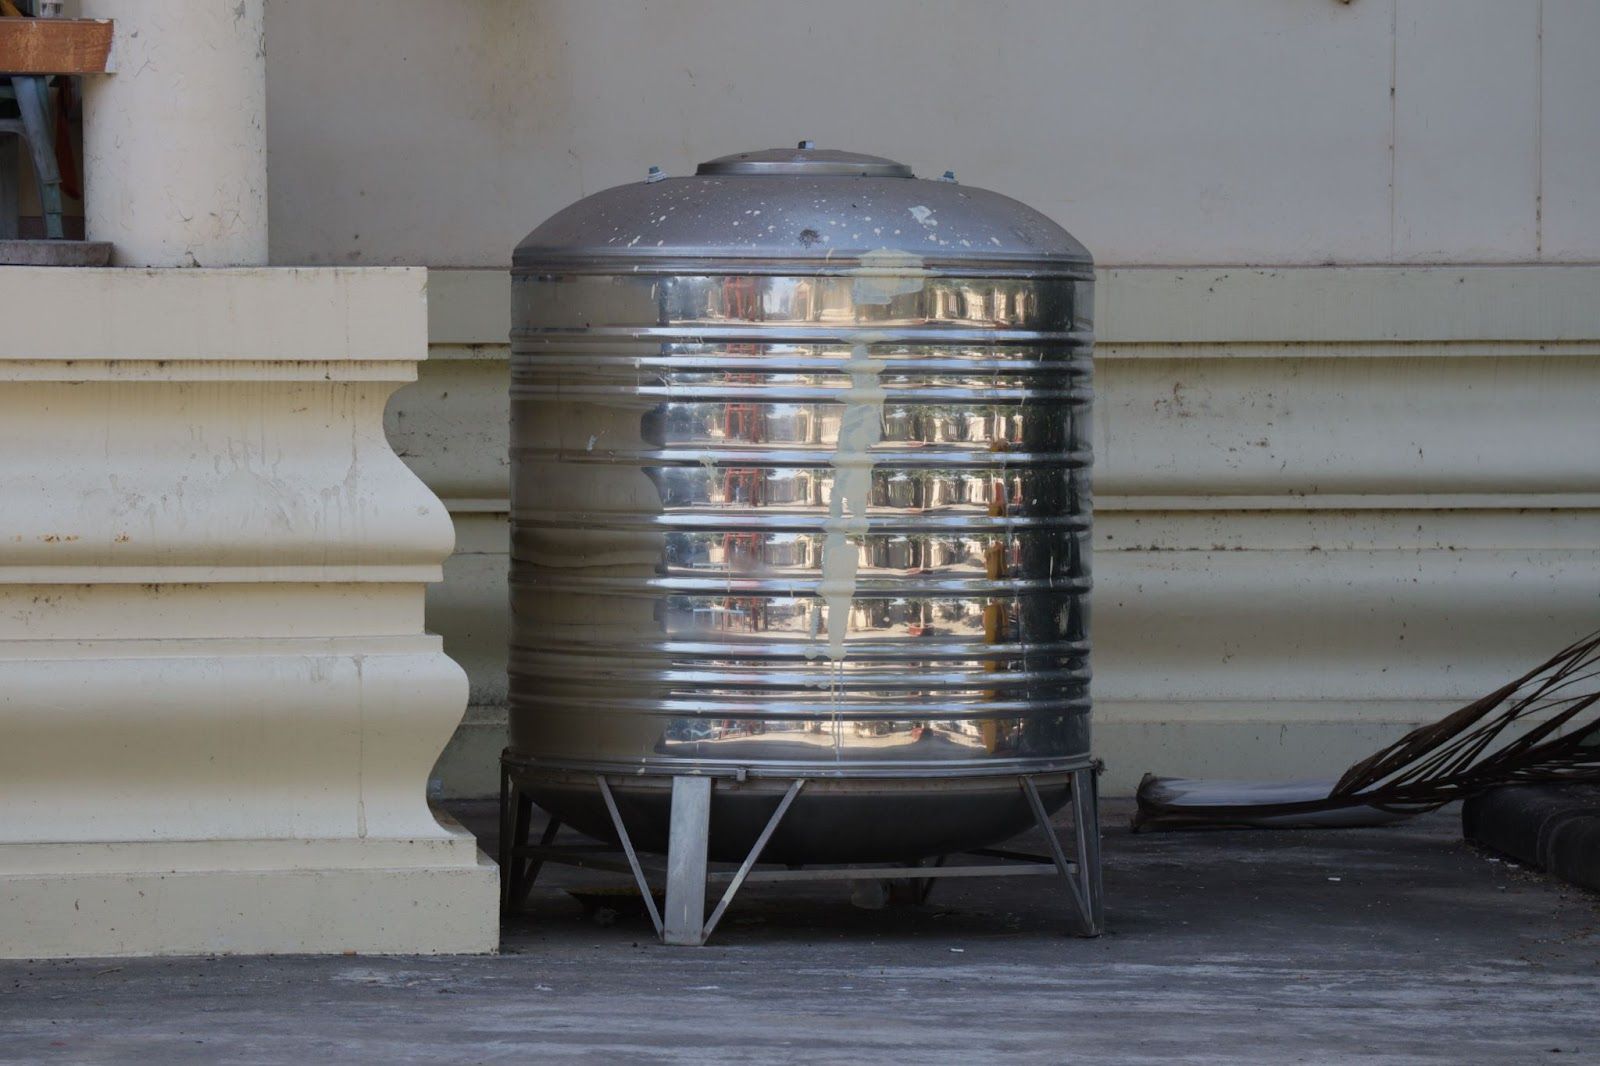
As a whole, according to specialists in the field, stainless steel tanks are the best option because of its easy maintenance, durability and environmental sustainability
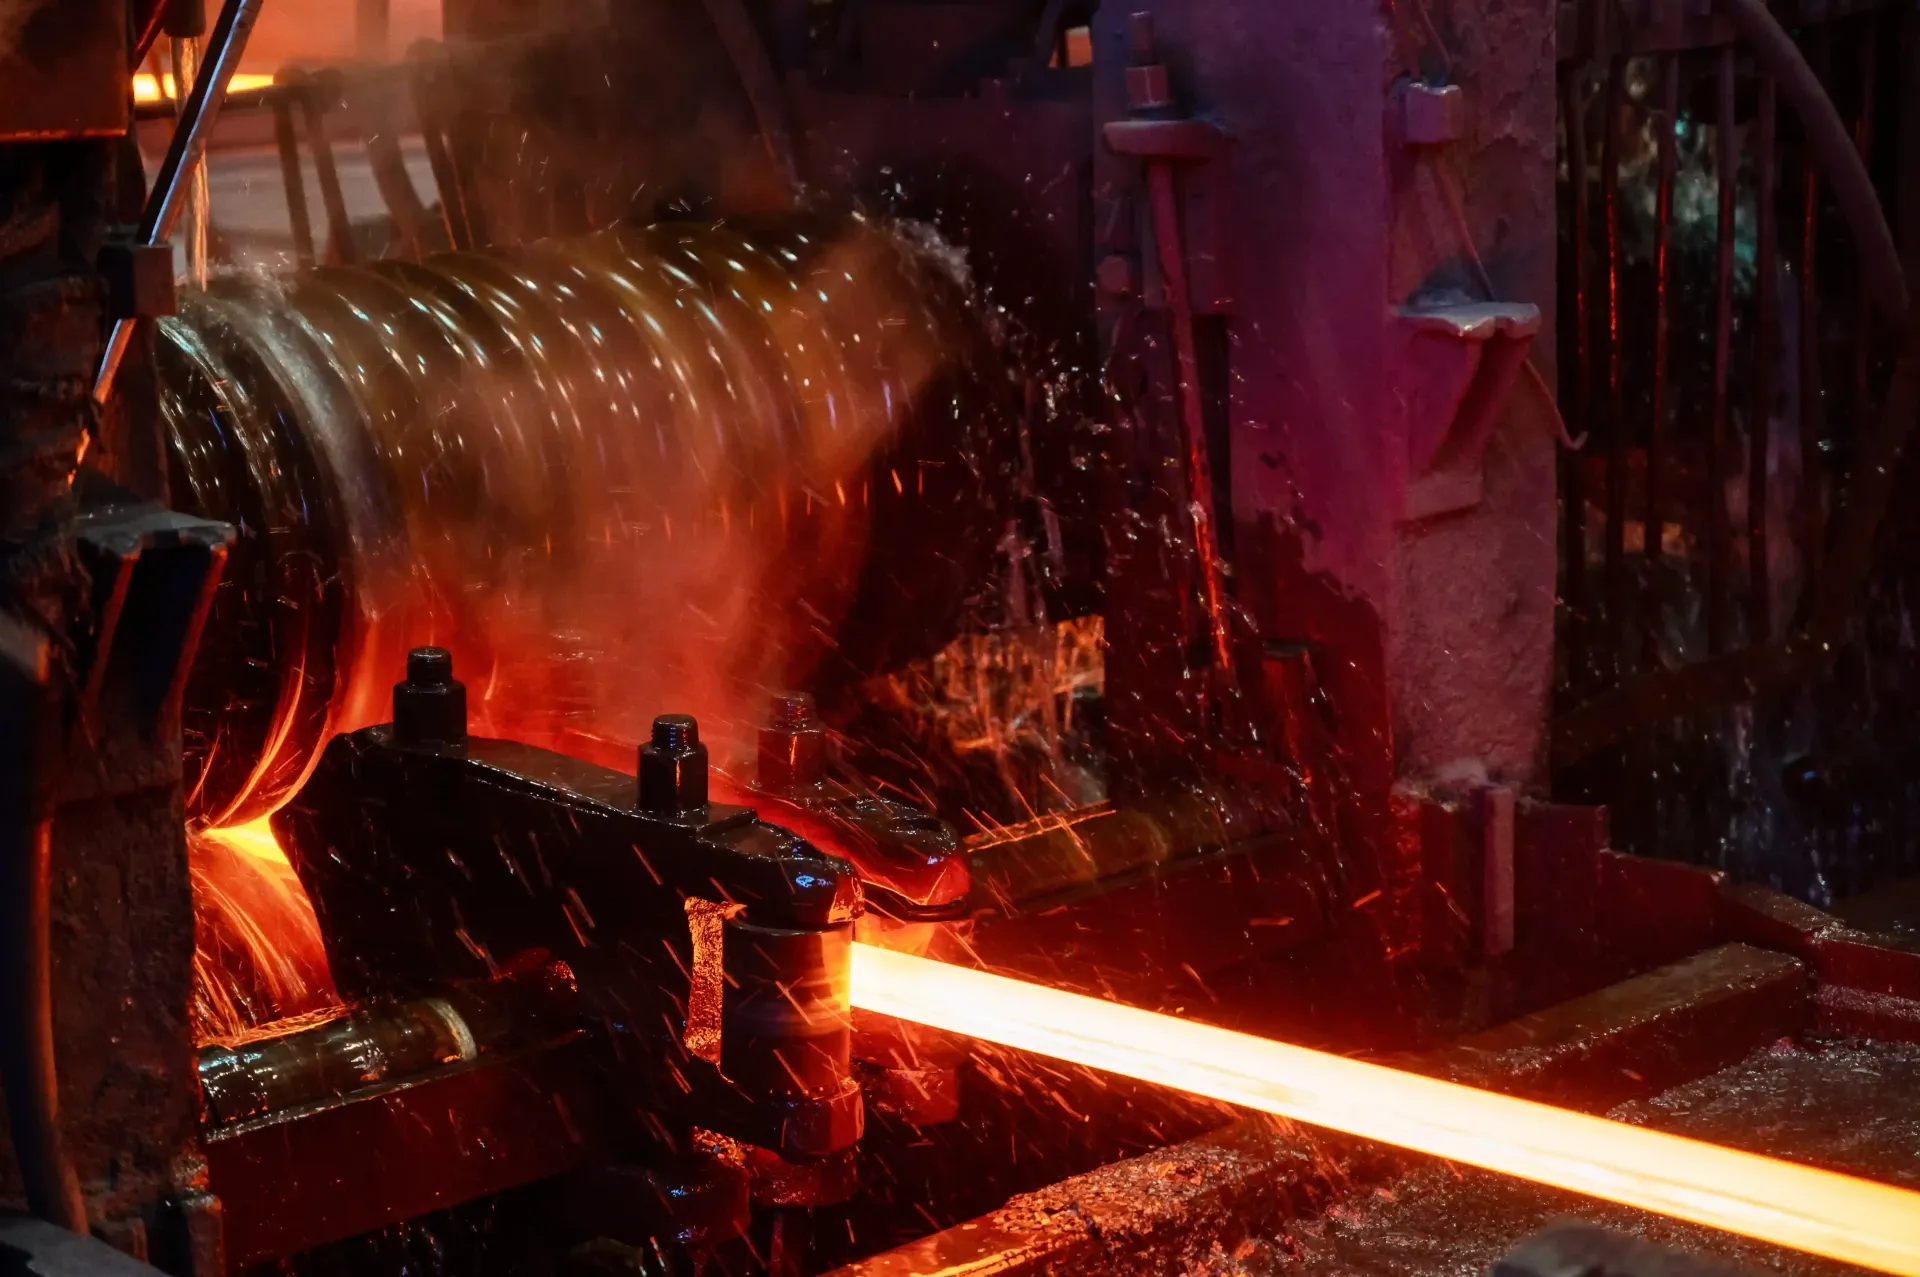
Traditional carbon steels corrode when they are subjected to environmental elements, including moisture, high or low pH and chemicals such as chlorides.
However, stainless steel that has been alloyed with various metals like chromium maintains its structural integrity in extreme temperatures and bad weather and fends against corrosion from impurities and water.
Why Clean Stainless Steel Water Tanks?
In order to maintain water hygiene, water tanks must be cleaned. The water tank may accumulate over time with the following:
- Dirt
- Dust
- Debris
- Mould
- Dangerous germs
By regularly cleaning the system based on risk assessments, you can ensure it's clean, safe, and compliant. Water sources with low circulation and stagnation could serve as a habitat for harmful bacteria.
Various causes can all contribute to stagnation, including:
- Inefficient water use
- Installing a tank that is too big
- Issues with your water system that result in clogs or poor flow
Even with these considerations taken into account, water tanks will occasionally become stagnant. Despite the low risk, it is nonetheless essential to regularly clean and disinfect.
Benefits of Stainless Steel Tanks
Let's look at the benefits of choosing stainless steel for your water tank.
Durability
Compared to regular carbon steel, stainless steel has greater corrosion resistance in a variety of applications. Because of their high level of durability and corrosion resistance, they have longer lifespans.
Stainless is essential for guaranteeing that the quality of the item you are preserving is not compromised. If you keep your tanks outdoors, stainless can also help you eliminate weathering problems that can happen when using steel or plastic.
Environmentally friendly
When deciding which storage tank to purchase, the environmental impact of mining and producing the materials used is a key consideration. Steel is the most recyclable material in the world. New stainless steel can be recycled 60 to 70 per cent without losing any quality, and because it requires little energy to create, its carbon impact is kept to a minimum.
In addition to being a safe metal alloy, stainless steel does not deteriorate or release pollutants into the environment.
Easy to clean
Since stainless steel tanks have an ultra-smooth surface, dirt and mould will not cling or collect. The most hygienic alternative for keeping drinking water for communities is to utilise stainless steel tanks because it is the material that is most suitable for uses such as:
- Food processing
- Medical applications
- Water storage
Although initially less expensive than stainless steel, plastic storage tanks are prone to the development of germs and mildew – as are expensive concrete storage tanks that also leak calcium and can pollute water supplies.
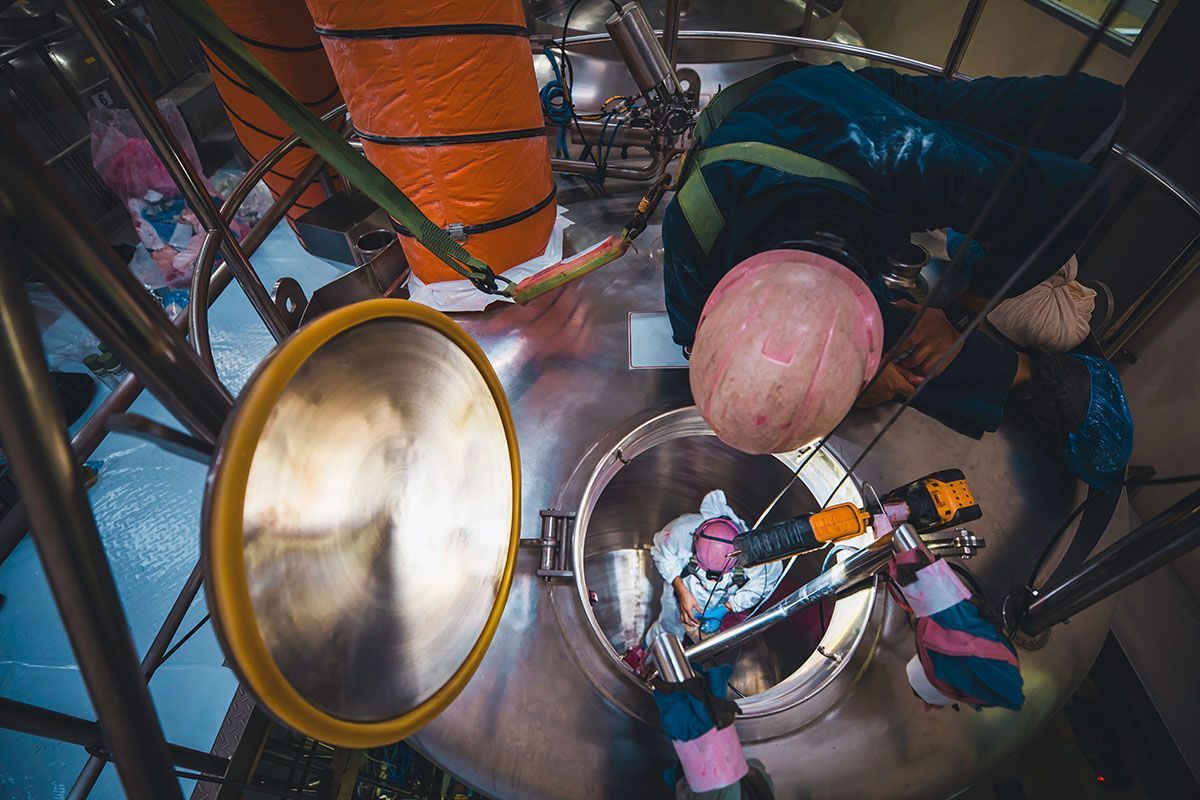
How To Clean Stainless Steel Water Tanks?
The following items are required for cleaning your 1000 litre and above stainless steel water tank:
- Water, Bucket, Bleach, and Rubber gloves
- Mild detergents
- 50 ppm chlorine tablet
- Safety glasses
- Laundry detergent powder
- Bristle brush
- Power washer
- Baking soda
Step 1:
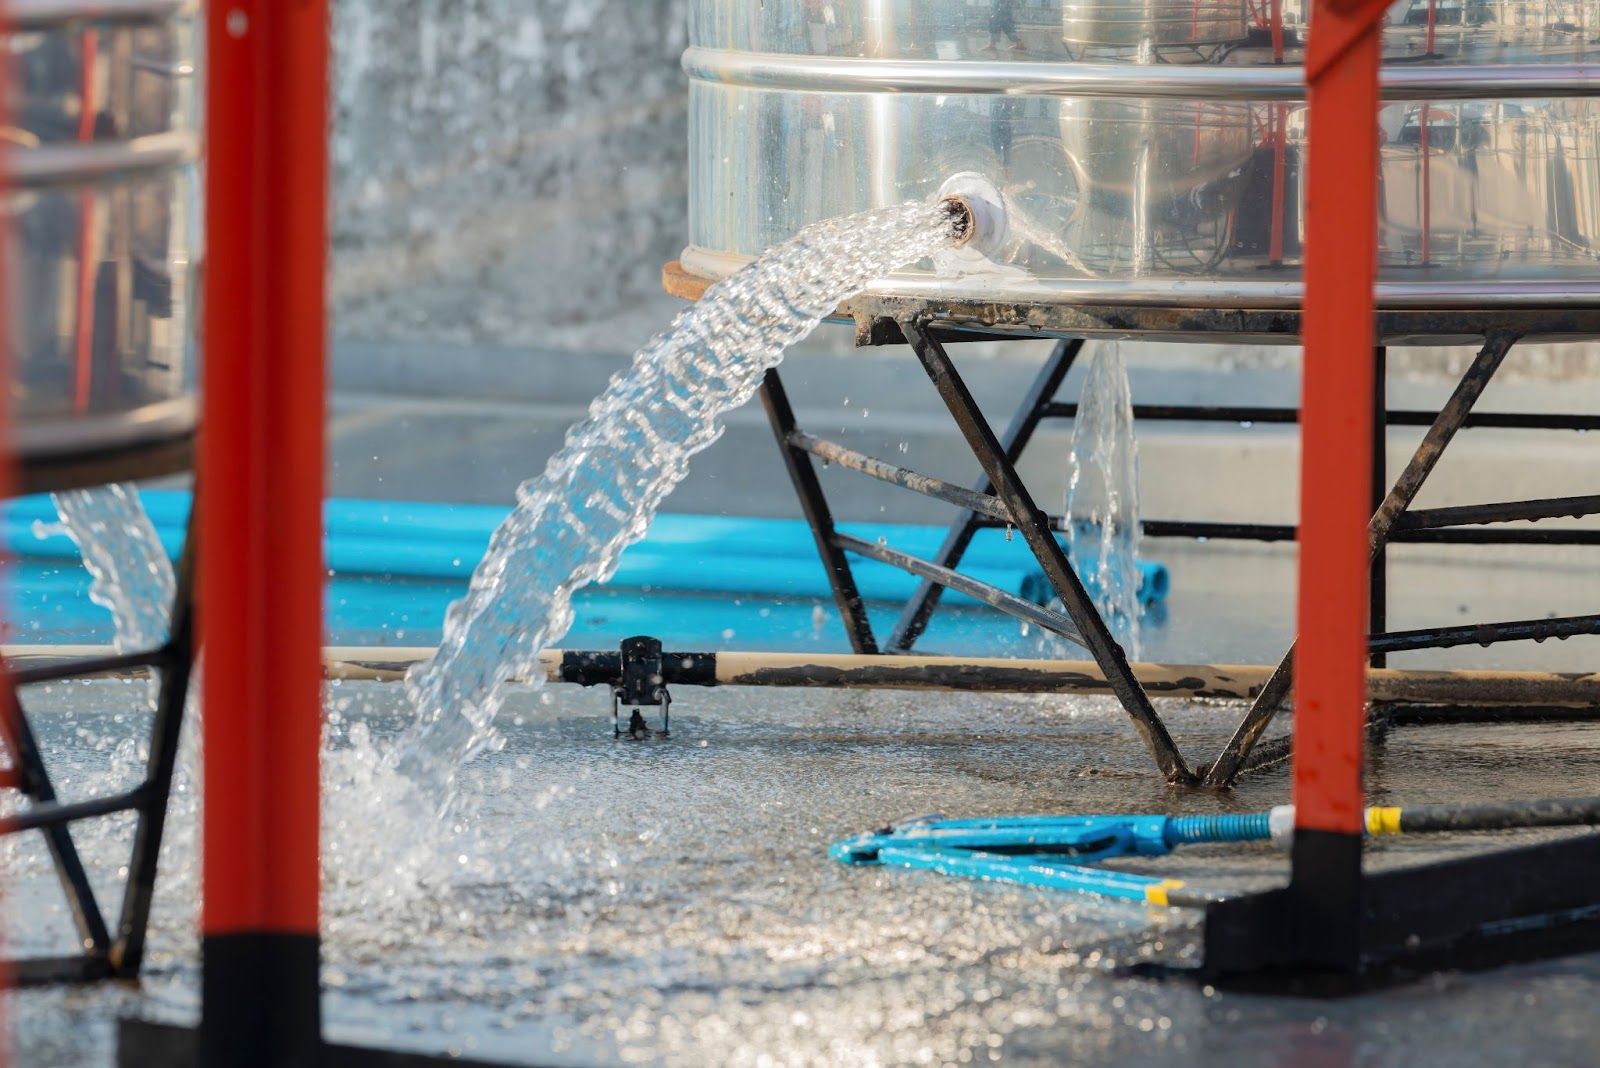
Begin by draining all water through the outlet tap. To divert water to an area where it won't cause any erosion, attach the hose and pipes to the open faucet.
Using a bucket, scoop out all of the water in the bottom of the stainless steel water tank. After draining, this is typically the water that is left over. Ensure that all residual water is removed using a wet or dry vacuum to empty the remaining water.
Step 2:
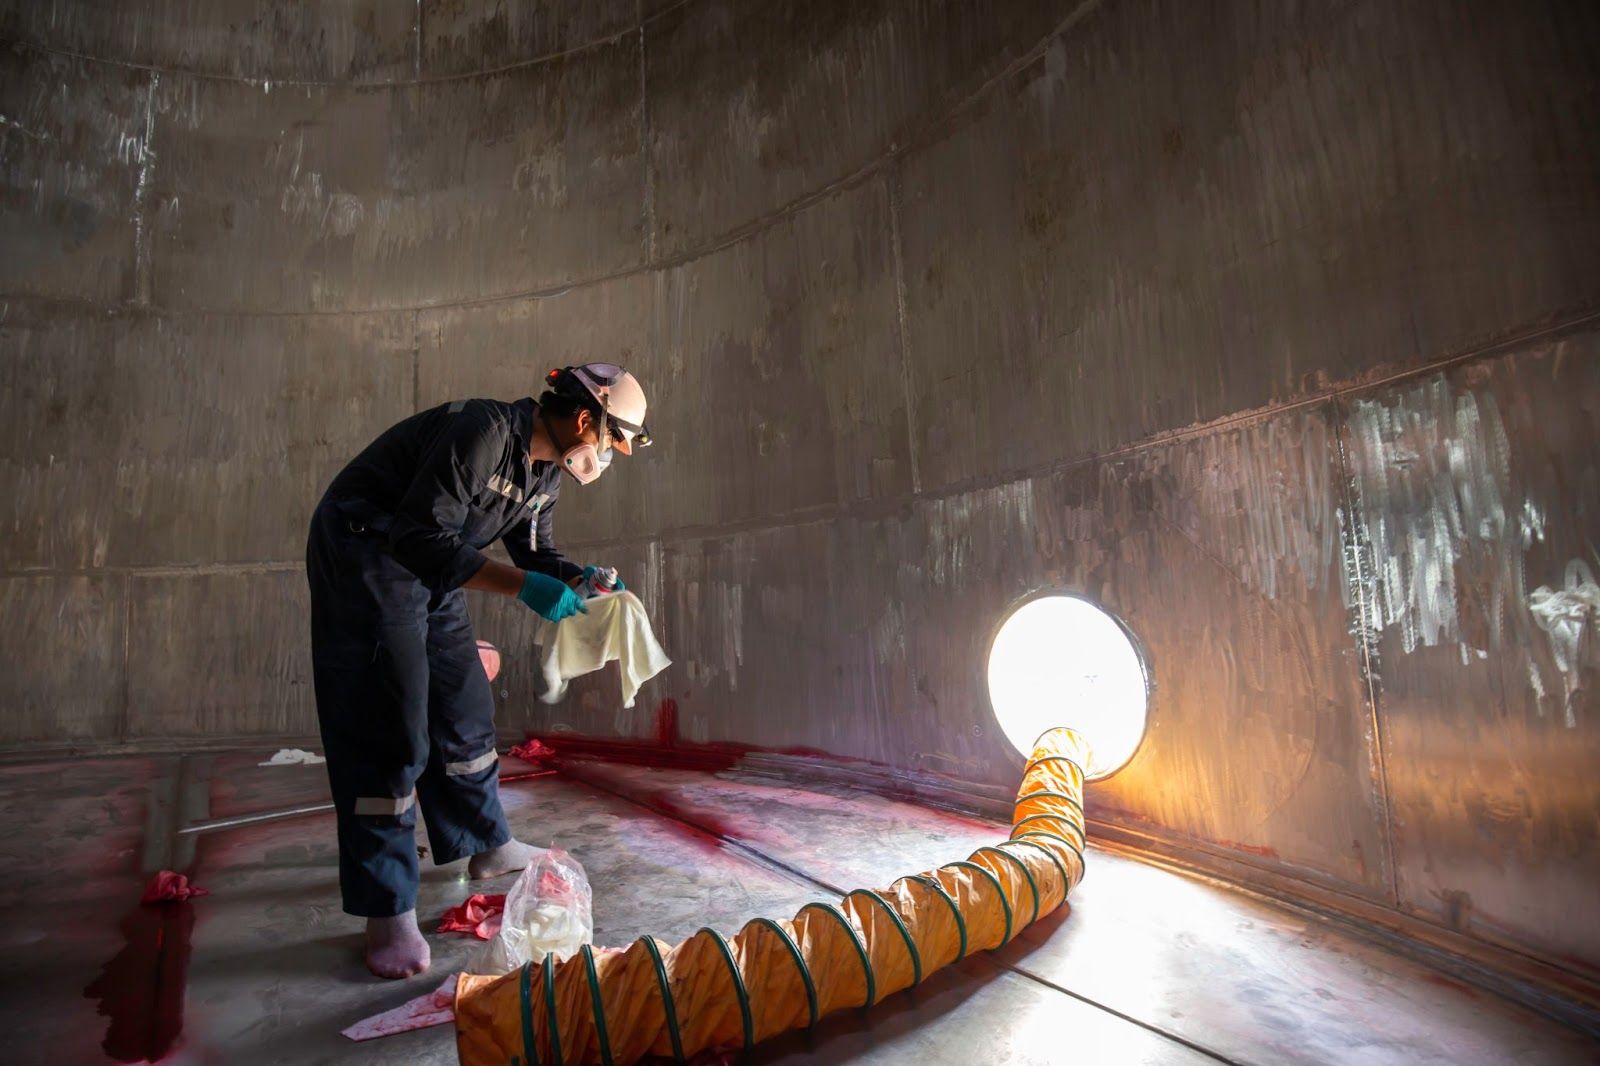
Create a cleaning solution to help clean the tank of dirt and residue. Combine hot water, laundry detergent powder, and mild detergents to create the solution.
Using a bristle brush and the cleaning solution, scrub the tank's interior walls. Applying intense pressure to the brush requires moving the arm horizontally in all directions. Do this all the way around the tank's walls. Remove any residue or grease by scrubbing. Continue doing this until all of the dirt and slime has been removed.
Step 3:
To thoroughly clean the inside of the tank, use the power washer. Scrub the tank's interior to eliminate any remaining difficult sediment and residue. When using a power washer to clean, adhere to these instructions;
Spray the interior of the leaking component with a garden hose. Take the resin compound and check to make sure it is tightly packed. The resin compound is flammable and gluey. It is ideal for stainless steel materials.
Incorporate the substance with a ketone solution. But, the two are typically already combined when being purchased. The solution may solidify after some time. However, this can be resolved by incorporating a small amount of acetone.
Step 4:
Baking soda can get rid of sediments and dirt that are hard to eliminate. Sprinkle some baking soda on the tank's interior walls, and scrub them with a brush.
Brush all of the stainless steel tank's edges and joints. Joints and corners are where dirt accumulates, so pay close attention to them as you scrub. Cleaning in these areas could be challenging, but it is still important to take your time.
Step 5:
When you are certain that you have cleaned thoroughly and removed most of the debris inside your steel tank, thoroughly rinse the tank. Rinse the walls with the hose and pipes.
You may also rinse the tank by filling it with hot water and letting it sit for a few hours before draining it. Ensure that all of the drained water is collected and disposed of safely. Repeat the process until all detergent and debris have been removed from the water.
Use the hoover to get rid of any leftover liquid and debris. Attaching a wet or dry vacuum to the tank will allow you to clean it out. To completely remove the residue, make sure the hose can reach all the gaps, corners, and crevices of your tank.
You can flush the tank's hoses and pipes by adding some cleaning solution. Pump the solution through the tank using the water pump. Get rid of any debris and sediment inside. Use hot water this time and repeat the same process.
Step 6:
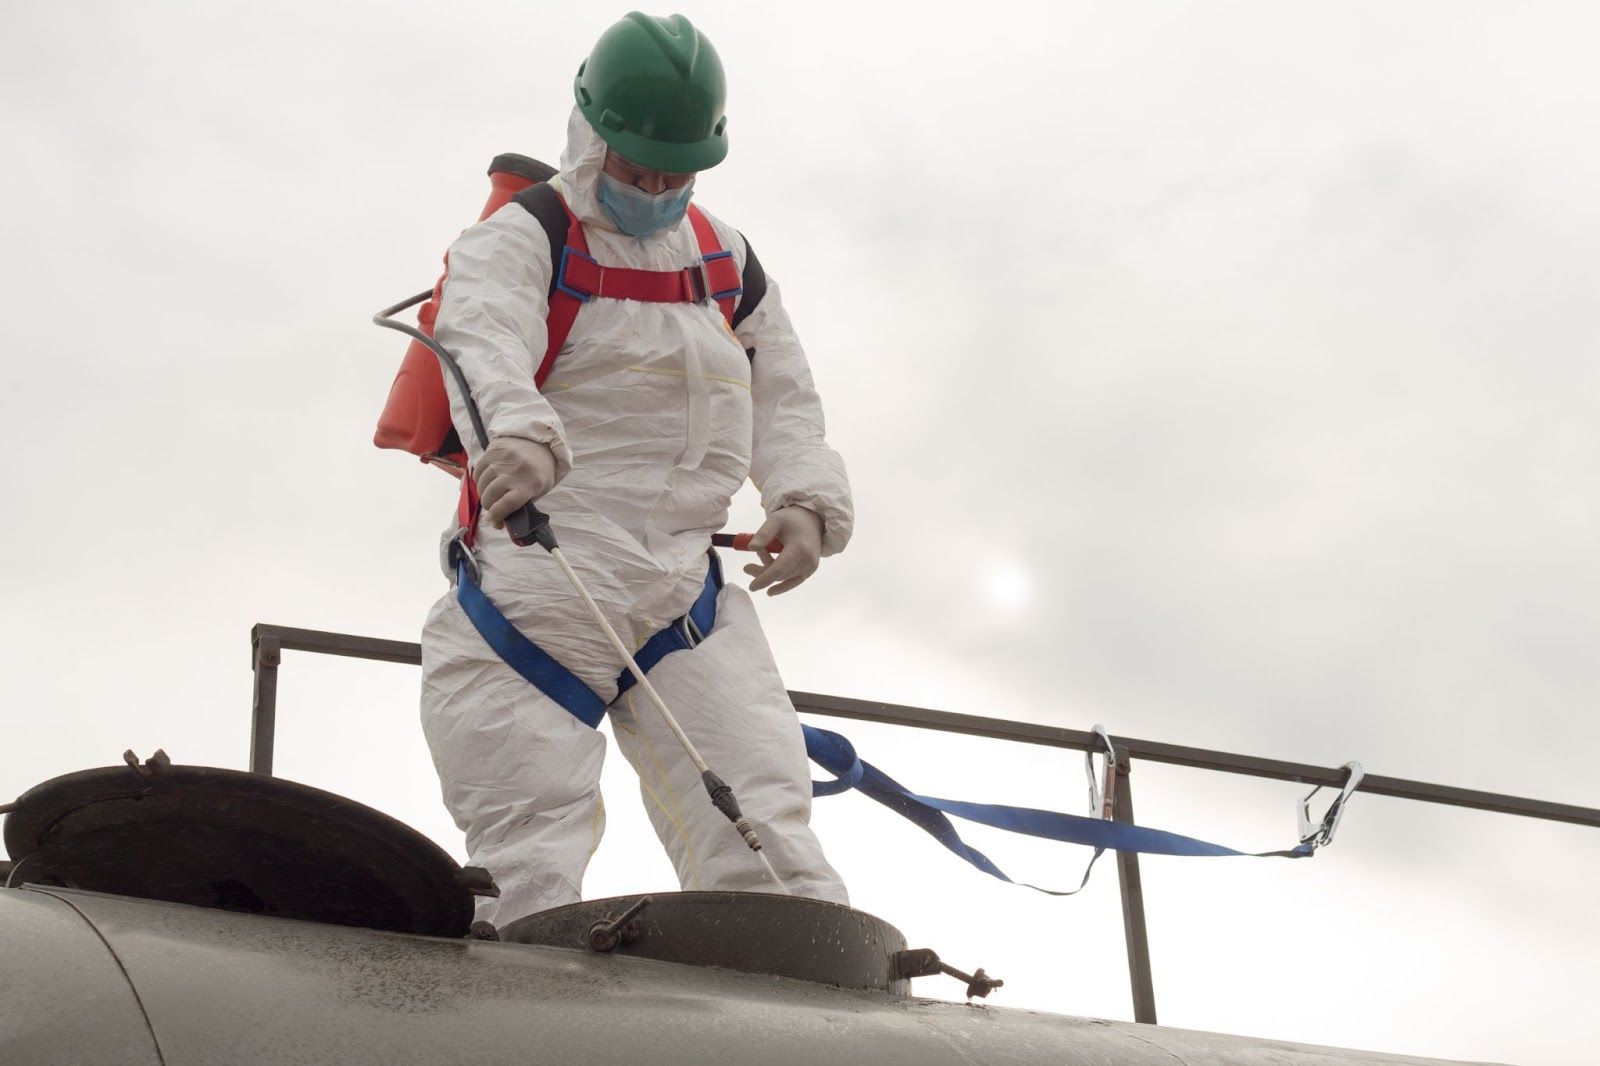
After cleaning your tank's interior walls and base, you can start the disinfection process. Fill your tank nearly all the way up with fresh water to start. Add chlorine bleach to the tank at a 50 ppm ratio to the volume of water. Follow the recommendations listed below:
- 250 gallon tank-4 cups of bleach
- 500 gallon tank-1/2 gallon of bleach
- 750 gallon tank-3/4 gallon of bleach
- 1000 gallon tank-1 gallon of bleach
Fill the remainder of the tank with fresh water after the appropriate amount of bleach has been added. As a result, the remaining water in the tank and the bleach will combine easily. Give the solution a day or so to settle inside the tank.
Make sure no one approaches the solution because it can be hazardous. Drain the tank fully after periodically monitoring the chlorine level with chlorine strips.
Ensure That The Stainless Steel Water Tank Is Maintained To Have Access To Clean Water
While cleaning a stainless steel tank is fairly simple, it does take some time and extra work. The instructions above show you how to clean your stainless steel tank step by step. It is crucial to frequently clean your stainless steel water tank for optimal outcomes.
Looking for a quality industrial storage tank fabrication company in Malaysia ? Choose Choong Ngai Engineering!
So, if you're looking for stainless steel tank fabrication in Malaysia, visit us at Choong Ngai Engineering today to speak to our experts. We at Choong Ngai Engineering have years of experience and knowledge to answer your doubts or concerns, and we ensure to provide you with the quality solution you're looking for. Call us now!